Learn the best practices for growing tomatoes, from soil preparation to harvesting, and ensure a bountiful crop in both summer and fall seasons.
Updated: 2024
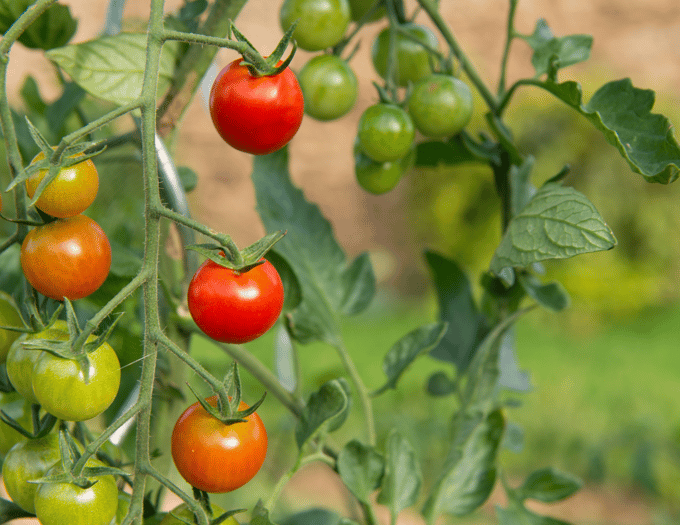
Tomatoes are everyone’s favorite thing to grow. Here, we have two seasons to get a crop: one in summer, and one in fall. Follow these suggestions for great fruit!
Compost— Add a compost product to your garden seasonally before every planting. Fertilizer— Foods made for edibles are best. Try Espoma’s Tomato-tone or Garden-tone. Liquid Seaweed— An organic extract that strengthens plants for better resistance to temperature fluctuations, stress, and disease. Good as a drench or foliar spray. Tomato Cages— Tomatoes need support to thrive and produce quality fruit well. Mulch— Apply at 2-3 inches of a mulch such as pine needles after planting to conserve moisture, protect your investment in the soil, moderate temperatures, and deter weeds. This is a basic list to get you started. Speak with a Garden Advisor for specific recommendations.
TIMING:
Tomatoes are most popularly planted by 4” transplants, and generally available in a longer spring planting window of late February through March for a summer harvest. Summer plantings yield fall tomatoes when planted in a narrower window, late June through mid-July. You can also start them by seed in January for a summer crop, and in May for the fall harvests.
SELECTION:
Plants fall into two main categories:
• Hybrids are those bred for specific size, flavor, or other characteristics, and can be the best choices for disease resistance. Heirlooms are usually viewed as those that are 50 years or older varieties. These can produce less fruit, but they have unusual forms or colors and distinctive flavor qualities that many prefer. These will also ‘come true’ from seed. • Then, choose between two major plant types: Determinates are bush-type growers, and generally produce larger fruits that ripen all at once. These can be good for container culture. Indeterminates usually have smaller-sized fruit, but these are produced over a much longer time on larger, vining-type plants.
SITE:
• Tomatoes must have full sun; at least 6 hours or more of direct sunlight daily is best. • Plants will require consistent moisture; make sure they’re in a spot that is easy to water. Good drainage, air circulation and consistent moisture will help reduce disease problems. • Raised beds are excellent since hey provide improved drainage and soil aeration, and should be a minimum of 4’x 4’ x 1’ deep to keep temperature and moisture levels consistent.
PREP:
• Try Mayer’s Raised Bed Mix for an all-in-one soil. Or, amend beds with the Organic Compost, Mayer’s Garden Soil Acidifier or Rejuvenate, and add a well-composted manure and worm castings before each seasonal planting. In containers, try NHG’s Organic Potting Soil, and amend. See theVegetable Project List handout for details. • Work the organic vegetable fertilizer into the soil when you're prepping the area per label directions, or at 1 to 2 lbs per 100 sq. ft.
PLANT:
• At planting, thoroughly water the transplants with liquid seaweed or root stimulator. • Make the hole. Fertilizer can be applied now at the bottom of the hole mixed into a small amount of the soil, or done after planting. Carefully clip any lower leaves of taller plants, and bury a couple of inches of the main stem under the soil. Additional roots will grow from the stem, increasing the root system’s volume and yielding a more vigorous plant. • Apply fertilizer in a ring around plant now if not done in the hole, lightly working it into the uppermost layer of soil. Whichever method you choose, be sure to thoroughly water the plant in. • Apply 2-3 inches with your choice of a shredded bark or pine needle mulch after planting to conserve moisture on the new planting, and lightly water again.
CULTURE:
• Cage your tomatoes right after planting to provide protection and necessary support. Make sure any support you select is tall enough for the mature chosen variety. Support any longer fruiting branches with stretchable plant tie as they grow. • It’s very important to keep watering as consistent as possible with tomatoes. Water in the morning to reduce fungal diseases. Drip irrigation works well as it keeps water off the leaves. Work around leaves only when they are dry. Keep tools clean. Maintain mulch levels. • Do not fertilize again until the first fruits have started to develop, and reapply every two weeks thereafter. Remember containers will need additional watering and fertilization. • Carefully monitor your plants daily for any appearance of pests or diseases. See us for help.
HARVEST:
• Gently twist to remove fruit that has reached its deepest color, and store upside-down unrefrigerated until needed. Green fruits can be harvested as well, and if desired can be allowed to ripen indoors on a warm windowsill.